Never Buy Jewelry Cleaner Again: Try This DIY Technique Instead
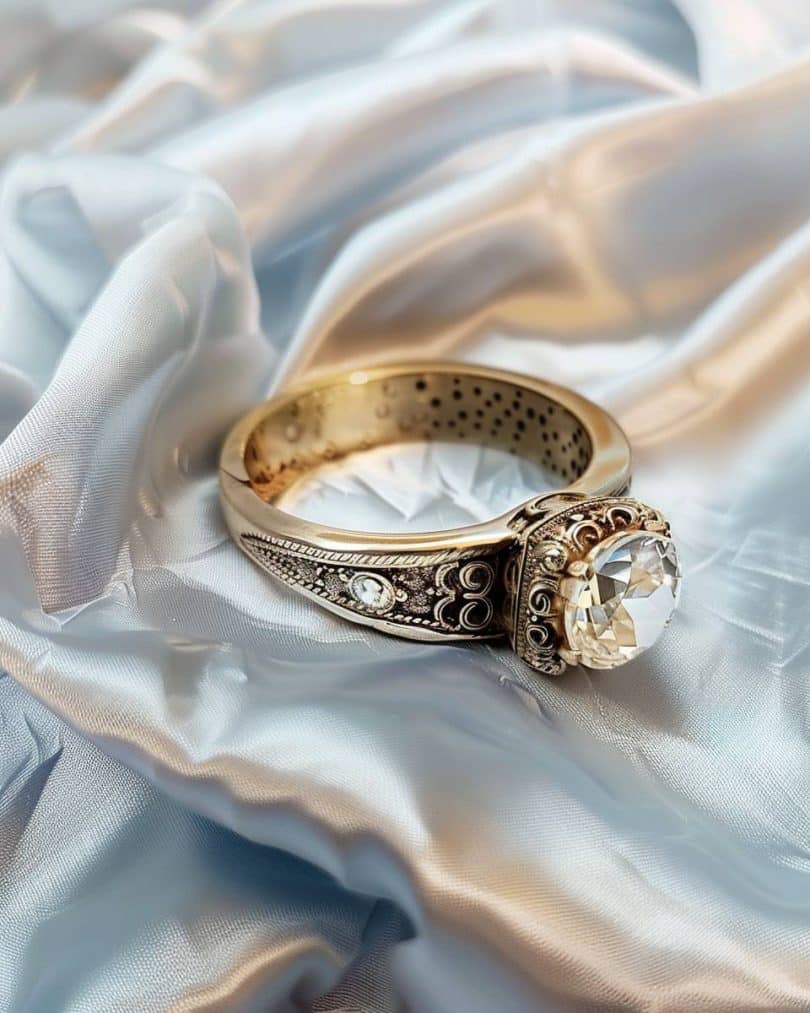
Jewelry has the remarkable ability to elevate our appearance and make us feel special. However, over time, even the most cherished pieces can lose their luster due to dirt, oils, and tarnish. While commercial jewelry cleaners are readily available, they often contain harsh chemicals that can damage delicate gems and metals. The good news is that you can maintain your jewelry’s brilliance using a simple and effective technique with ingredients you probably already have at home. Say goodbye to store-bought jewelry cleaners and hello to a DIY solution that works wonders.
The Secrets Behind the Perfect Recipe
Creating the perfect DIY jewelry cleaner hinges on the right combination of ingredients and a proper understanding of their roles. Here are the secrets behind this effective recipe:
- Balance of Ingredients: The right proportions of salt, baking soda, and dish detergent ensure a thorough clean without damaging your jewelry.
- Chemical Reaction: The ion exchange process triggered by aluminum foil is crucial. It helps lift tarnish and grime from the jewelry to the foil.
- Gentle Abrasives: Using salt and baking soda provides gentle abrasion to remove dirt without scratching the surface.
- Degreasing Power: Dish detergent effectively breaks down oils and residues, ensuring a sparkling finish.
- Soaking Time: Allowing enough time for the solution to work is essential. A 10-15 minute soak ensures all the grime is lifted.
The DIY Jewelry Cleaning Solution
This technique uses a combination of common household items to create a safe and effective jewelry cleaner. Here’s what you’ll need:
- 1 tablespoon dish detergent
- 1 tablespoon salt
- 1 piece of aluminum foil or plastic wrap
- 1 tablespoon baking soda
- 1 cup water
- A small bowl
Why This Technique Works
- Salt and Baking Soda: Salt and baking soda are both gentle abrasive agents that help to remove dirt, tarnish, and grime from jewelry surfaces without causing any damage. They work together to break down and dissolve the buildup that accumulates over time, leaving your jewelry sparkling clean.
- Dish Detergent: Dish detergent is an effective degreaser, cutting through oils and residues that can accumulate on your jewelry. This ingredient is particularly useful for removing oils from your skin, lotions, and other products that might dull your jewelry’s shine.
- Aluminum Foil: Aluminum foil is a key component of this technique. When combined with the other ingredients and immersed in water, it creates a simple chemical reaction known as ion exchange. This reaction helps to dislodge tarnish and dirt from your jewelry and transfer it to the foil, leaving your jewelry looking revitalized.
- Water: Water is used to create the solution and facilitate the chemical reaction. It helps to distribute the cleaning agents and ensure they come into contact with the jewelry’s surface.
Using the Technique
Follow these steps to clean your jewelry using the DIY solution:
Step 1: Line the Bowl with Aluminum Foil
Start by placing a piece of aluminum foil at the bottom of the small bowl. Make sure the shiny side is facing up.
Step 2: Add the Ingredients
Combine the salt, baking soda, and dish detergent in the bowl on top of the aluminum foil.
Step 3: Pour in Water
Gently pour in the cup of water, creating a solution that covers the jewelry.
Step 4: Submerge the Jewelry
Carefully place your jewelry in the solution, ensuring that each piece is fully submerged.
Step 5: Let It Sit
Allow the jewelry to soak in the solution for about 10-15 minutes. During this time, the chemical reaction will work to remove tarnish and dirt.
Step 6: Gently Scrub and Rinse
After soaking, use a soft-bristle toothbrush or a gentle cloth to lightly scrub your jewelry, paying special attention to intricate details and hard-to-reach areas. Rinse the jewelry under cold water to remove any remaining solution.
Step 7: Pat Dry
Gently pat your jewelry dry with a clean, soft cloth. Avoid using tissues or paper towels, as they can scratch the metal.
Benefits of the DIY Technique
Using this DIY jewelry cleaning technique offers several benefits:
Cost-Effective
The ingredients are readily available in most households, making this technique a cost-effective alternative to purchasing commercial jewelry cleaners.
Gentle on Jewelry
The natural abrasives and gentle cleaning agents in this solution ensure that your jewelry remains unharmed, preventing any potential damage that harsh chemicals might cause.
Environmentally Friendly
By using common household items, you’re reducing your reliance on chemical-laden products, contributing to a more environmentally friendly approach to cleaning.
Easy and Convenient
This method is simple to execute and requires minimal preparation. You can clean your jewelry while going about your daily routine.
More Tips for Jewelry Care
In addition to this DIY cleaning method, here are some tips to keep your jewelry looking its best:
Regular Cleaning
Make it a habit to clean your jewelry regularly. This will prevent buildup and make each cleaning session quicker and easier.
Proper Storage
Store your jewelry in a clean, dry place. Consider using a jewelry box with compartments to keep pieces separate and prevent scratching.
Avoid Exposure to Chemicals
Remove your jewelry before using household cleaners, swimming in chlorinated pools, or applying lotions and perfumes.
Handle with Care
Be gentle with your jewelry, especially delicate pieces. Avoid tugging or pulling, and take care when putting on or taking off items.
Frequently Asked Questions (FAQs)
Can This Technique Be Used for All Types of Jewelry?
This DIY method is safe for most types of jewelry, including gold, silver, and platinum. However, be cautious with delicate gemstones or vintage pieces. If in doubt, consult a professional jeweler.
How Often Should I Clean My Jewelry?
The frequency of cleaning depends on how often you wear your jewelry. For items worn daily, a weekly cleaning may be beneficial. For pieces worn less frequently, monthly cleanings should suffice.
Can I Use This Method for Costume Jewelry?
Yes, this technique can be used for costume jewelry as well. However, be mindful of any glued-in stones, as prolonged soaking could weaken the adhesive.
What If My Jewelry Has Intricate Designs?
Use a soft-bristle toothbrush to gently scrub intricate designs and hard-to-reach areas. Be thorough but gentle to avoid any damage.
Are There Any Alternatives to This DIY Method?
There are several other DIY methods for cleaning jewelry, such as using a mixture of vinegar and baking soda or a solution of water and ammonia. Always research and test methods on a small, inconspicuous area first.
Final Thoughts
Keeping your jewelry clean and sparkling doesn’t have to be a costly or time-consuming task. With this DIY technique, you can restore the brilliance of your favorite pieces using ingredients you likely already have at home. Not only is this method effective and gentle, but it’s also environmentally friendly and cost-effective. So, next time your jewelry needs a little TLC, skip the store-bought cleaners and try this DIY solution instead. Your jewelry will thank you!


